Zodiac buddies risoprint process
Awwwww shit I keep forgetting this is meant to be an actual art blog where I post process pictures and not just vague melodramatic rants. For the first time! Here's my process for a zodiac animal 4x6" risoprint that I sold at Auckland Zinefest last weekend.
1. Initial sketch
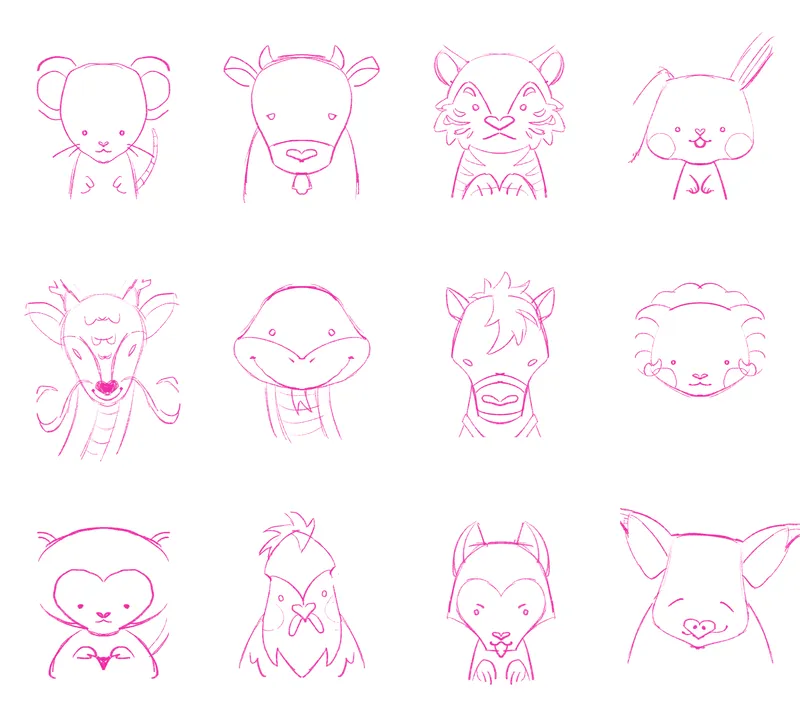
Sketched out some character designs on paper first. I initially wanted to make a design I could use as both print and sticker (cutting out the rectangles and gluing them on a larger piece of white paper sticker, trimmed with squigly scissors for a stamp-like effect), but in the end I liked how the print looked on its own.
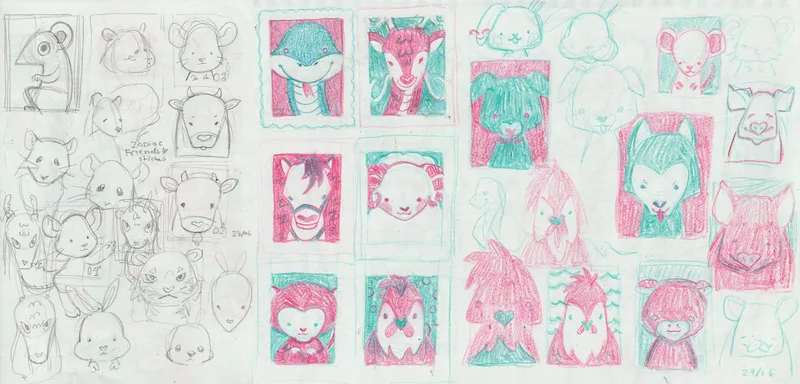
Designing was real fun! There are a lot of different types of animals in the zodiac, so I tried to give each one a unique face shape (Sanrio mascots were a big inspo). They're all tied together with a cute heart motif 💚
2. Digital color
This is a very simple riso design that uses the colors 'as-is' instead of getting fancy with overlaying and gradients, so I could easily visualize it with colored pencils and finish 99% of the drawing on Procreate, even with its limited layer options.
I made a cleaner sketch using the symmetry ruler, but for the actual fill I went freehand with a pencil brush. Thick and fun!
Simple color setup: 1 red layer at 100%, 1 red layer at 50%, and 1 blue layer at 100%, all multiply blending mode.
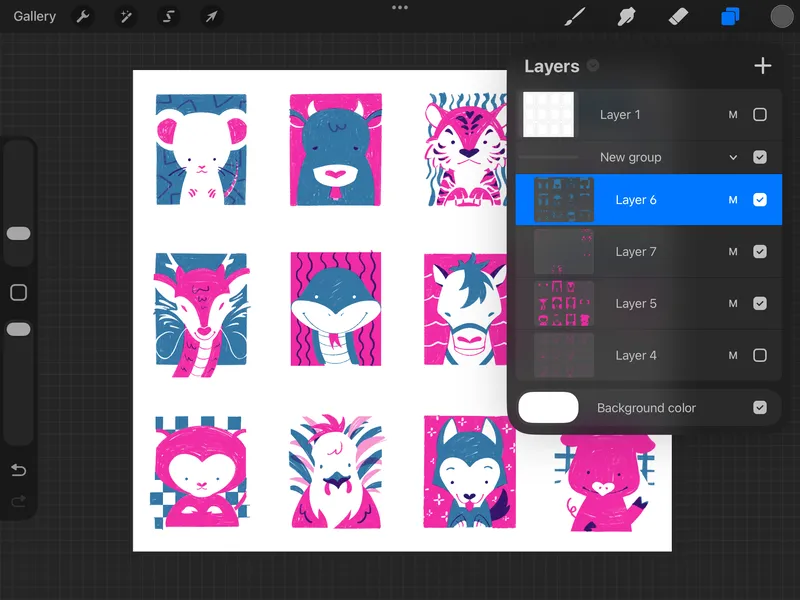
This is my process for Procreate since it doesn't have folder blending modes or layer clipping onto folders. If you're using Clip Studo Paint or Photoshop, I recommend using 1 folder at 100% multiply per color—within each folder, you can use different layers for different shades of gray. Then clip a new layer above the folder, fill it with your desired color, and set it to screen blending mode. This is stupid complicated to explain in text so I'll post a process blog for my more detailed risoprint later.
My favorite detail is how some animals have a slightly tilting head. Uwahhh, it's cute.
3. File preparation
I transferred my PSD file to Clip Studio Paint to prepare it for print. To save money, I print all of my risoprints on the same A4 piece of paper. So because of the spacing constraints, I made the print portrait instead of landscape, and had to change the background colors for some of the animals for balance.
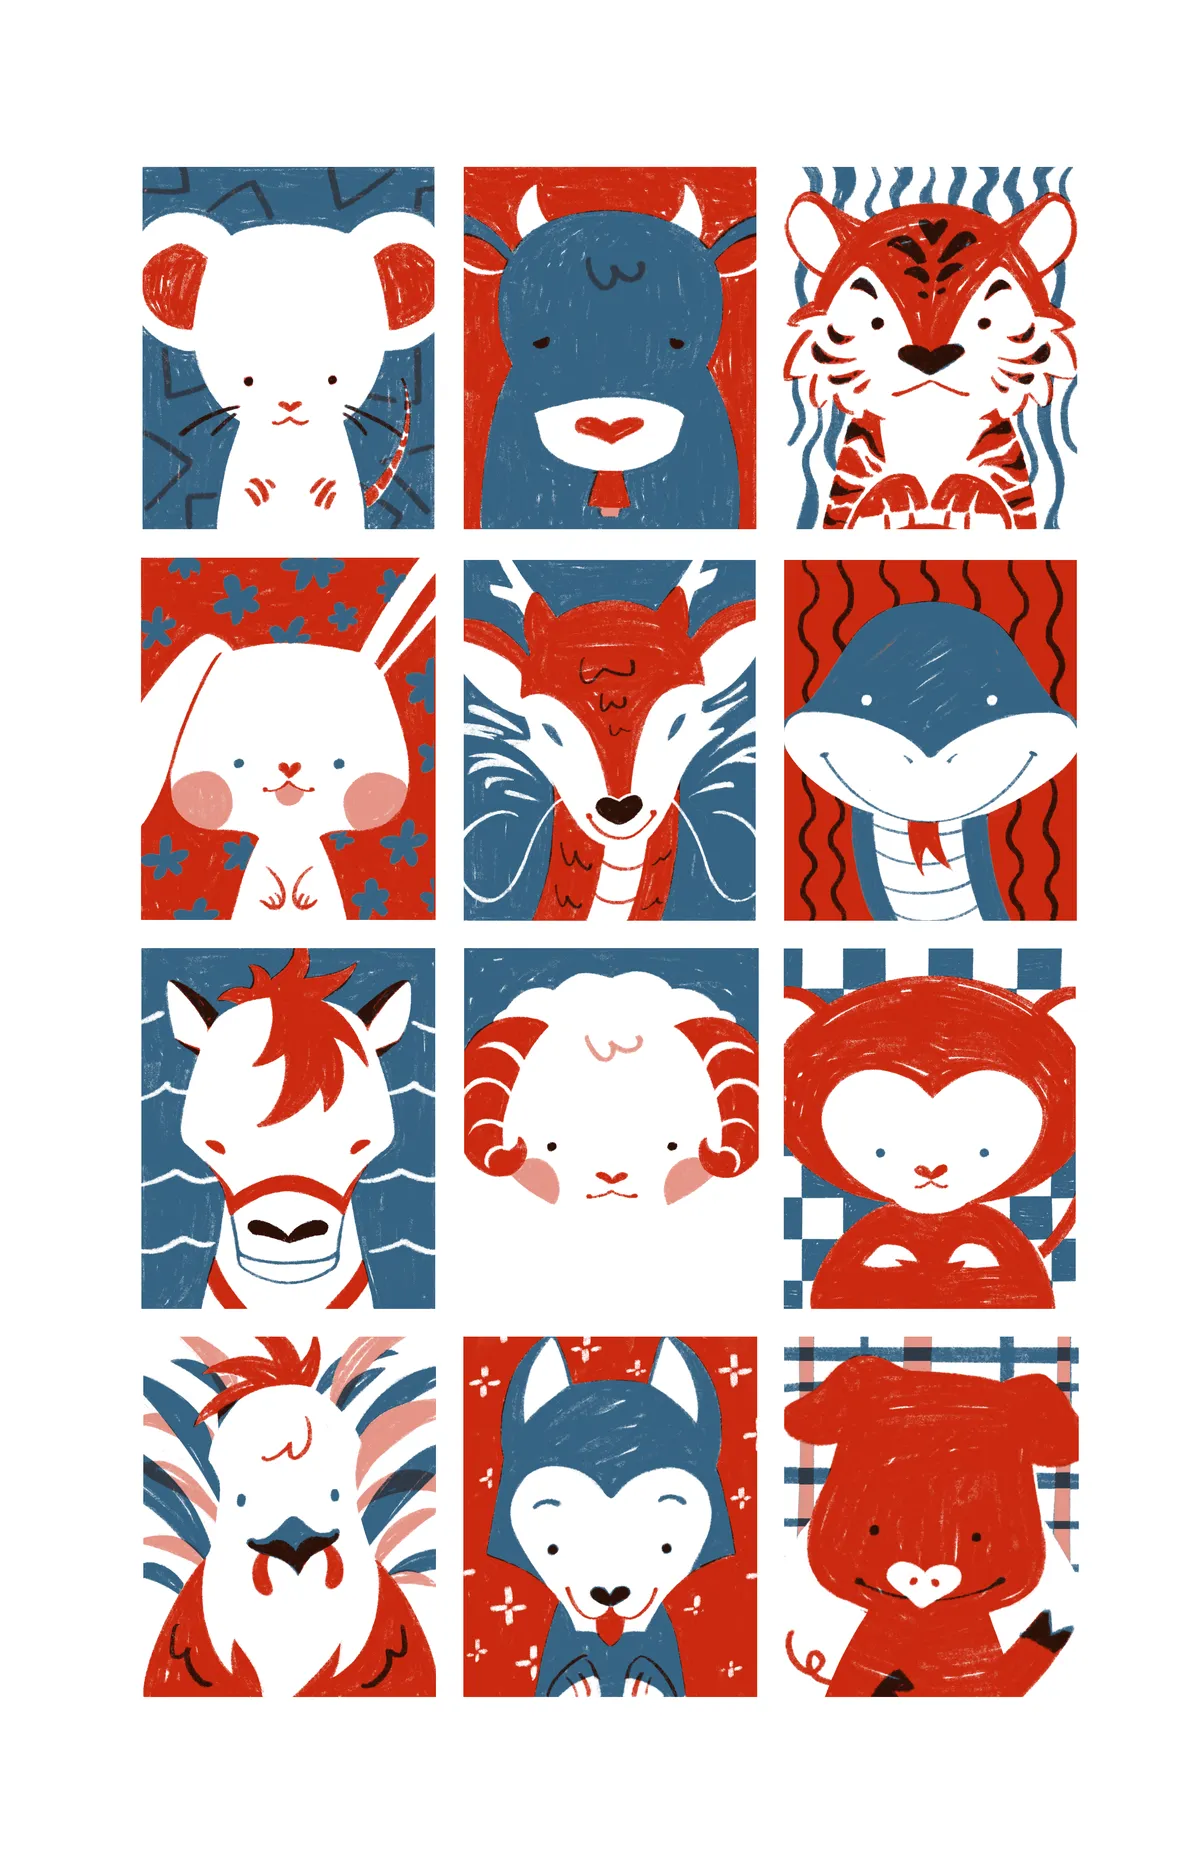
I also changed the overall colors since I wanted a strong red for the other print. I'm very happy with the switch! I love fluro pink riso but I do think it can be a bit of a copout since it feels impressive regardless of how the artwork itself looks. Red makes a lot more sense for this piece anyway.
Now that the artwork was done, I had to separate the colors into grayscale files for printing. How dark the shade is represents ink coverage—basically black means 100% opacity (i.e. solid red) and light gray might only mean 20~30% opacity (i.e. light pink—though once printed this is still technically 'red', but the halftone pattern is more dispersed so that it looks pink from far away.)
With such a simple design the setup is very easy. Basically just duplicate the file or folder, set alpha lock on everything, and fill every layer with black. Hide all of the red layers to export the blue, and hide all of the blue layers to export the red.
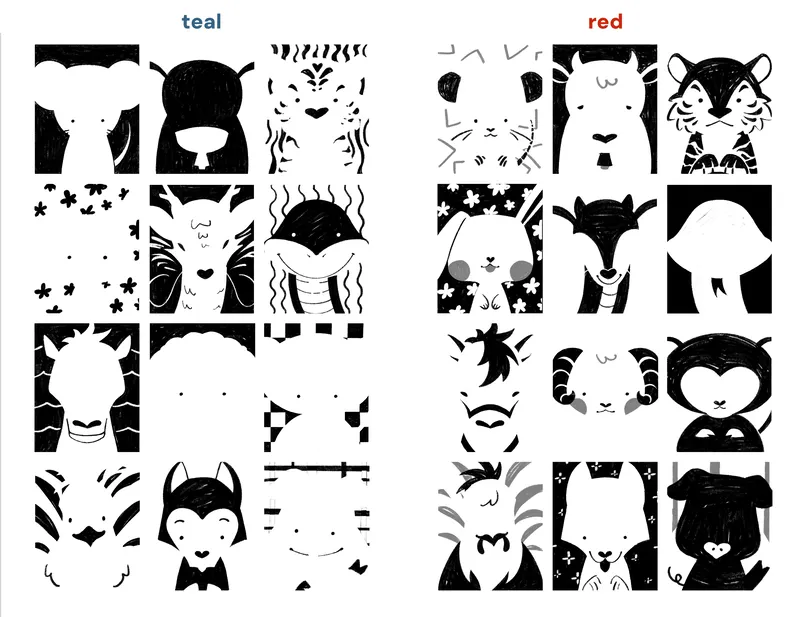
4. Result
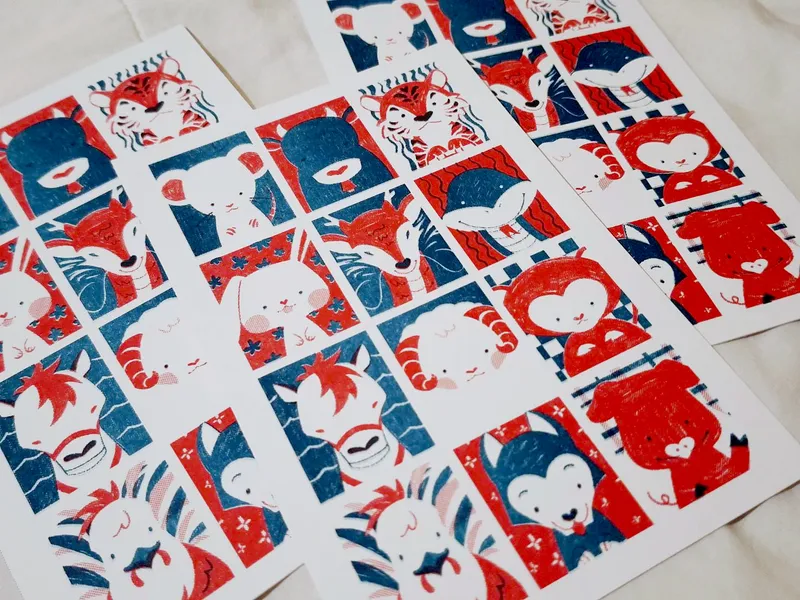
I added the design onto my full A4 sheet with the other pieces and sent it to The Online Printer as usual. Their risoprinting option is really affordable for higher-quantity orders. The total cost for 50x A4 risoprints with 2 colors on 300gsm stock was $77.38 NZD (approximately $45.45 USD) including taxes and free shipping. This only took up a quarter of the page so it was basically around $20 NZD ($11.75 USD) for 50 4x6 prints. Not bad!!1
Once they arrived, I had a looooot of manual cutting to do. I used the Fiskars SureCut paper trimmer which I thought I bought for $70+ but turns out it was only around $34. The quality is just that good.
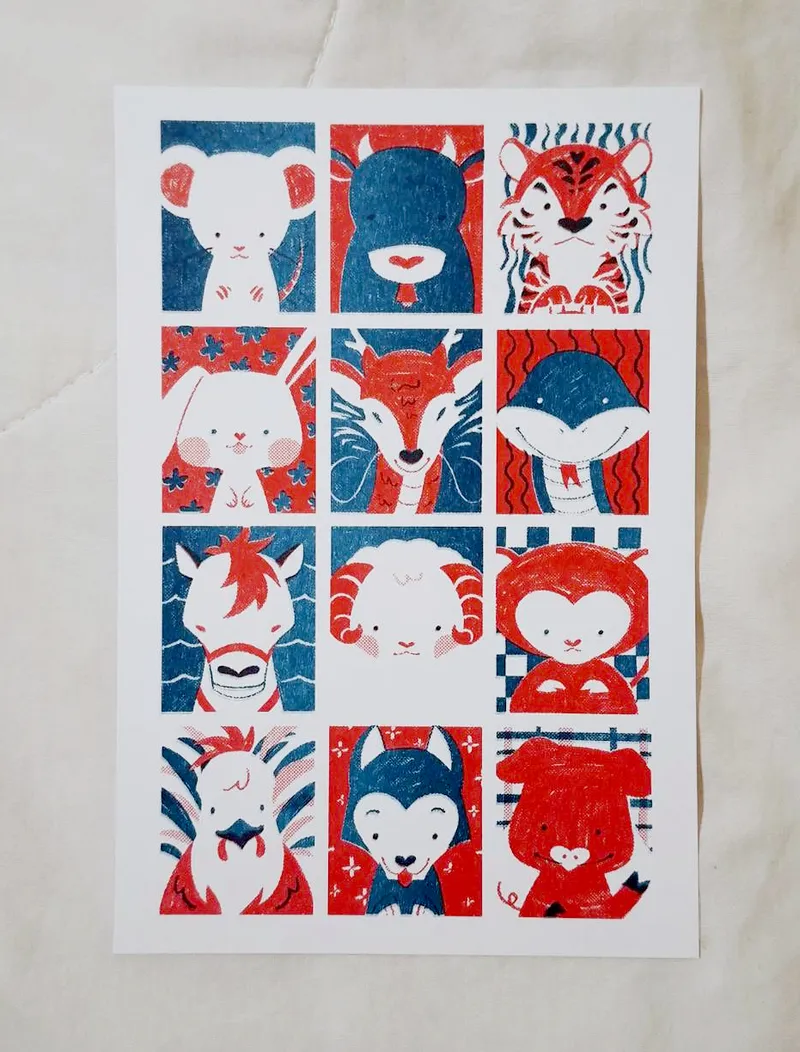
And done! Excuse my crappy camera they look better IRL. I'm seriously happy with how these turned out yessir I got that dog in me
Usually I wouldn't do this many copies of one print but I was using one half of the page for business cards and the other quarter for friend postcards.↩